


 Being able to do your own plumbing is a rewarding experience. If done well, you will have years of perfect water. Here is how to install your own tap outside connected to a water tank.
Table of Contents
Installation Of An Outside Water Tap (Tank Supplied)
In some countries and states, it is illegal to do your own plumbing. Please be aware of your local state and federal rules regarding plumbing work. When I brought my house the first thing I noticed was there were only 2 taps outside. One out the back one out the front. There was also a 9000 Liter Water Tank which was connected to a pump and tap to water the back garden only
This was just not practical to run 40m of hosepipe whenever I wanted to water the garden. So I decided to run another length of pipe from the tap out the back to install a new water tap around the side.
Tools needed to Install Outside Water tap:
- Pipe benders for the size of pipe you have
- Tube compression fittings
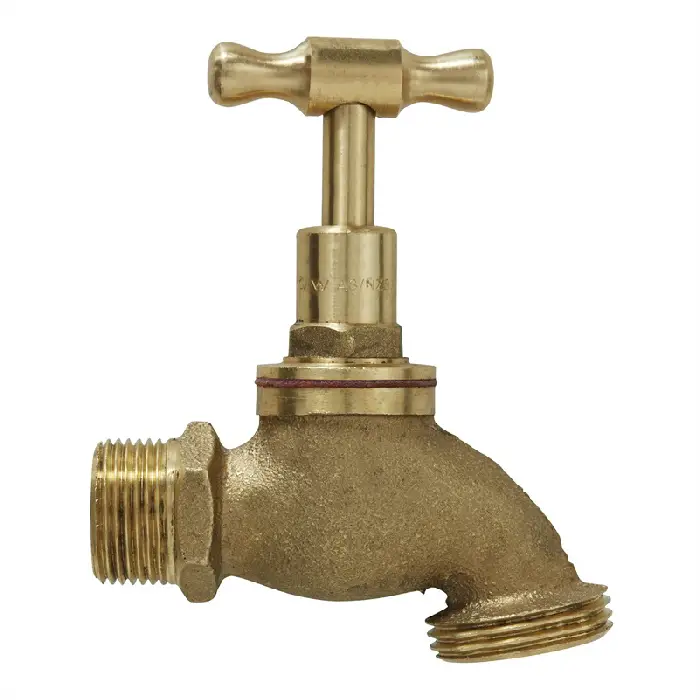
- Taps
- Copper pipe saddles
- Pipe Cutter
- A Pipe Deburrer
- Laser distance measurement device
- Phone number of a plumber if it all goes wrong….
Procedure Install Outside Water tap:
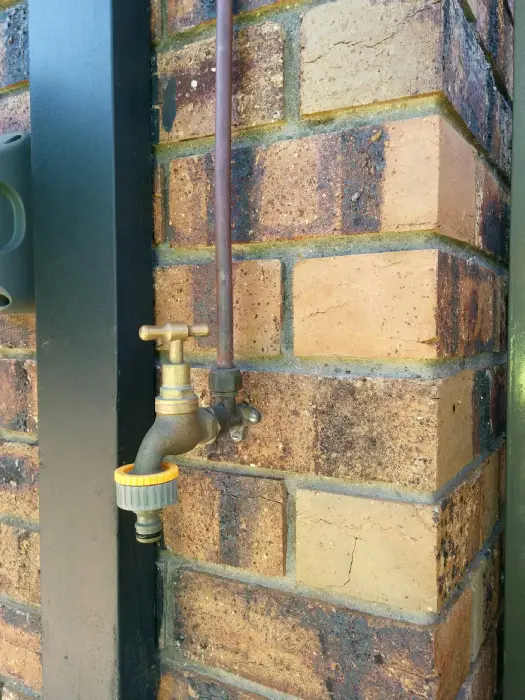
The First thing to do is work out where you would like to mount your tap outside and work out how much copper piping you will need. One of my friends is a plumber so he came around to give me a hand and to walk me through the process.
My project involved going up a wall outside into the eve’s roof space, and back down the other side of the house. This pipe then is connected into an existing water tank tap with a 3-way compression fitting. As a general rule, you should use a licensed plumber for all mains pressure plumbing work.
As this is tank water plumbing work and not mains water supply I thought I would give it a go with instructions from the plumber. Copper piping comes in rolls or coils as well as straight lengths. For my project, I used a 20m coil of copper and a 2m straight length of copper for the upright outside connection.
Unwinding Copper Pipe
As you unwind the copper roll try to straighten it out with your hand into straight lengths. Keep working it as you run it along with your wall or inside your roof space. Make sure to saddle it every 1m or so. It’s also best to use copper saddles as the cheap plastic saddles can break over time. Once you have your copper piping run its time to cut to length and saddle in place. Joining your new copper piping to an existing circuit can be done in 2 ways.
1st is to braise or solder into place, this is what most plumbers will do as the fittings are cheap.
2nd is to use a compression crimp fitting which you can get from your local hardware store for a few dollars. This fitting is what we will use and talk about for our project.

Correct Procedure Compression Fitting
Make sure the compression fitting has the insert ferrule on each end. This is the part that will crimp and seal off your pipe.
Do not over-tighten this connection as it can warp and split. I like to hand tighten and then give it a good twist till you start to feel some good resistance. There is no problems with you taking off the compression fitting nut to inspect if it has crimped well enough. If you find it does leak a little just nip it up a little more.
The 3-way compression fitting is perfect for what we need. All that is required to do is turn off the water supply and cut the pipe in half. Inset each cut half into each end of the 3-way fitting and nip up. We now have a connection left for our new pipe.
Insert your new pipe and tighten up. Check out the video below for a more detailed explanation of How to Do Compression Fittings.
Thanks to Tommys Yard for the explanation on compression fitting for plumbing
Mount your new tap to the wall of your house by using screws and wall plugs. Depending on the tap purchased you may need to join the wall fitting to the tap via thread tape.
The trick here is to buy them at the same time so you get the right thread for your tap and the right-sized compression fitting for your pipe. Attach it all and check your saddles are evenly spaced. A water pipe that is not secured tightly can jump around and cause bigger problems. It’s good to first flush by opening the tap up fully just in case there are some sand or copper filings in the pipe. This will flush them through without damaging your rubber tap washer and O-rings. My water pump runs on pressure so it is always powered on but starts pumping on a loss of pressure.
Eg: Turning on a tap.
Double-check all of your work for leaks and tighten if necessary. Enjoy saving a heap of dollars on Install Outside Water tap.
See this post if you would like some more information on setting up automatic sprinkler system for your garden.

I am a qualified Industrial Electrician for the past 20 years and I love to share my knowledge on home repair and maintenance jobs.
I love fast toys like Motorcycles, Cars, Jetskis, Boats, and Computers so writing about them is easy. Working on them is fun.
To keeps costs down I do all my own mods, repairs, and servicing. These skills I want to share with everyone. DIY is a skill everyone can learn.


